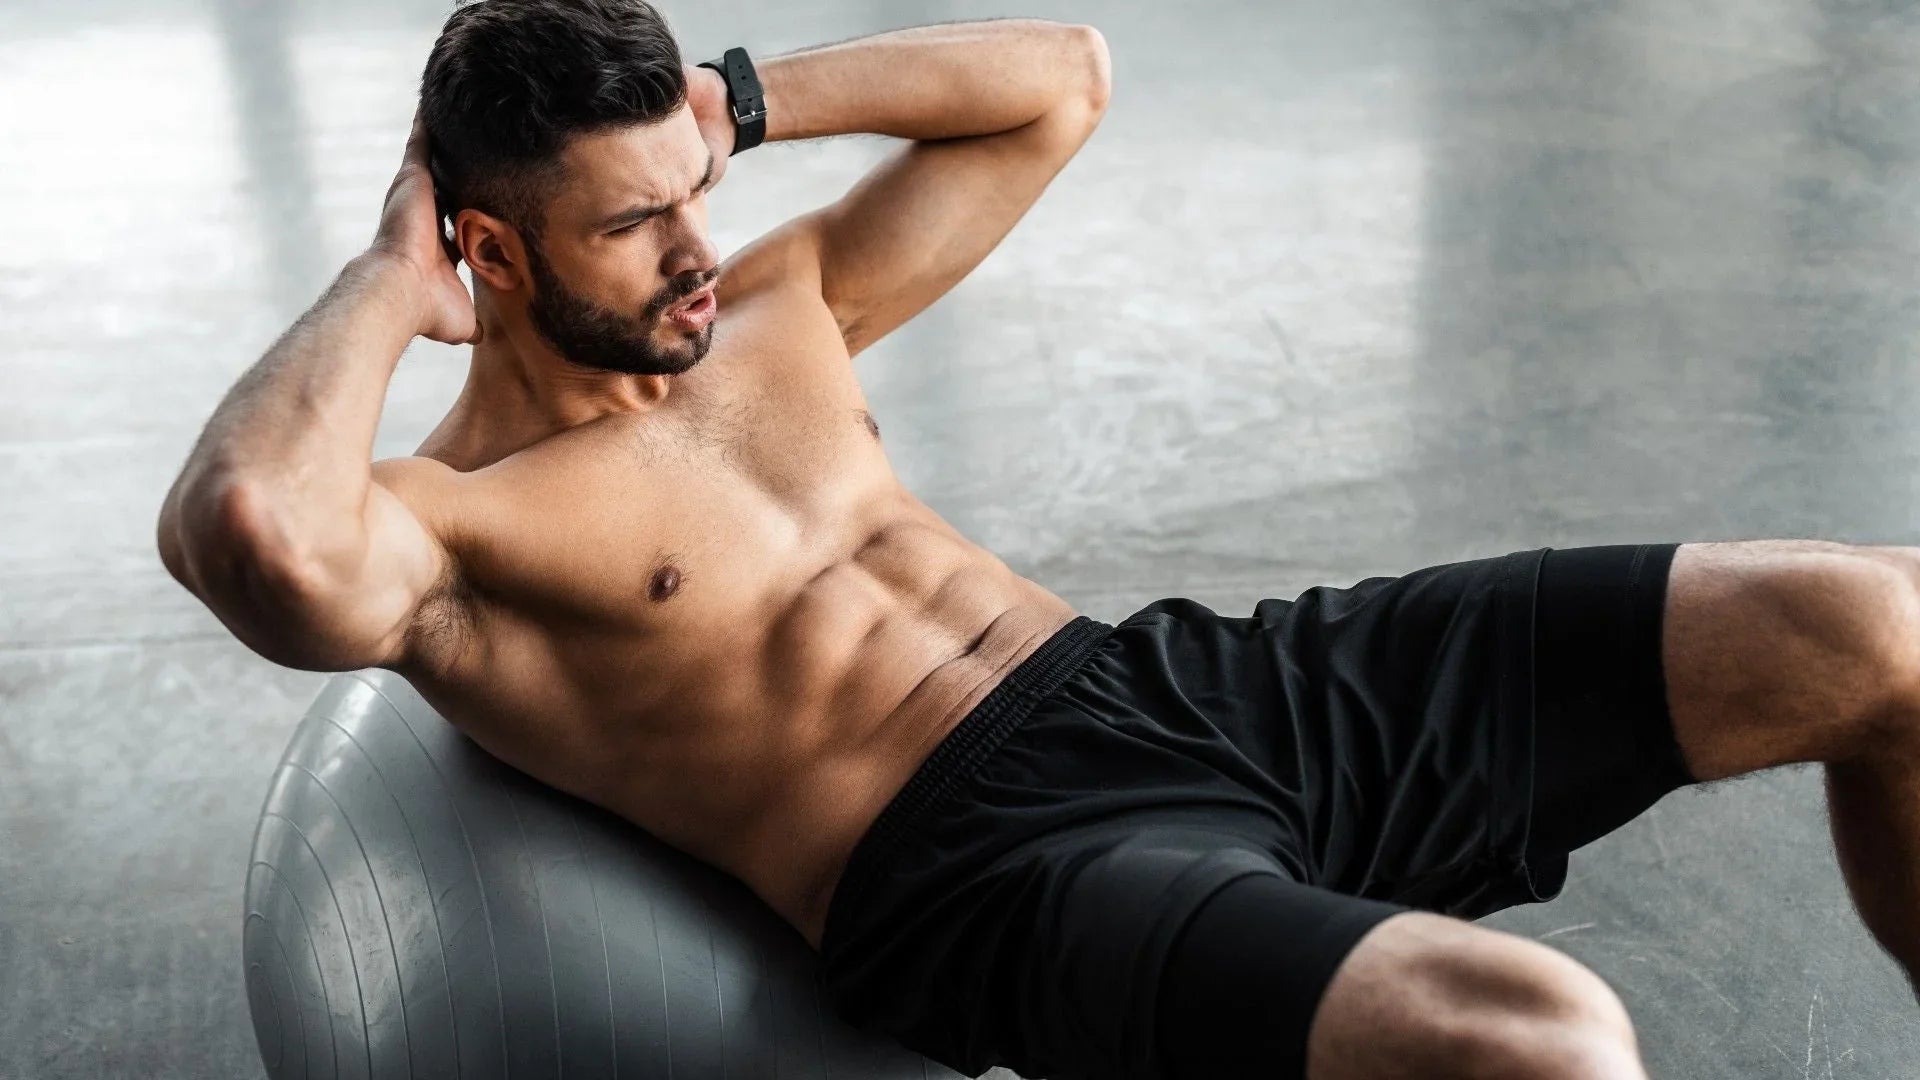
Summer is just around the corner, and if you’re aiming for that perfect summer body, don’t forget about your legs. While a chiseled upper body is impressive, pairing it with strong, well-defined legs will take your look to the next level. Wearing men’s activewear shorts or workout shorts for men with confidence requires more than just covering up—it’s about showcasing legs that are powerful and sculpted. Skip the jeans and loose trousers this summer, and instead, focus on building legs that turn heads. Here’s a guide to the best leg workouts for men to help you look great in shorts.
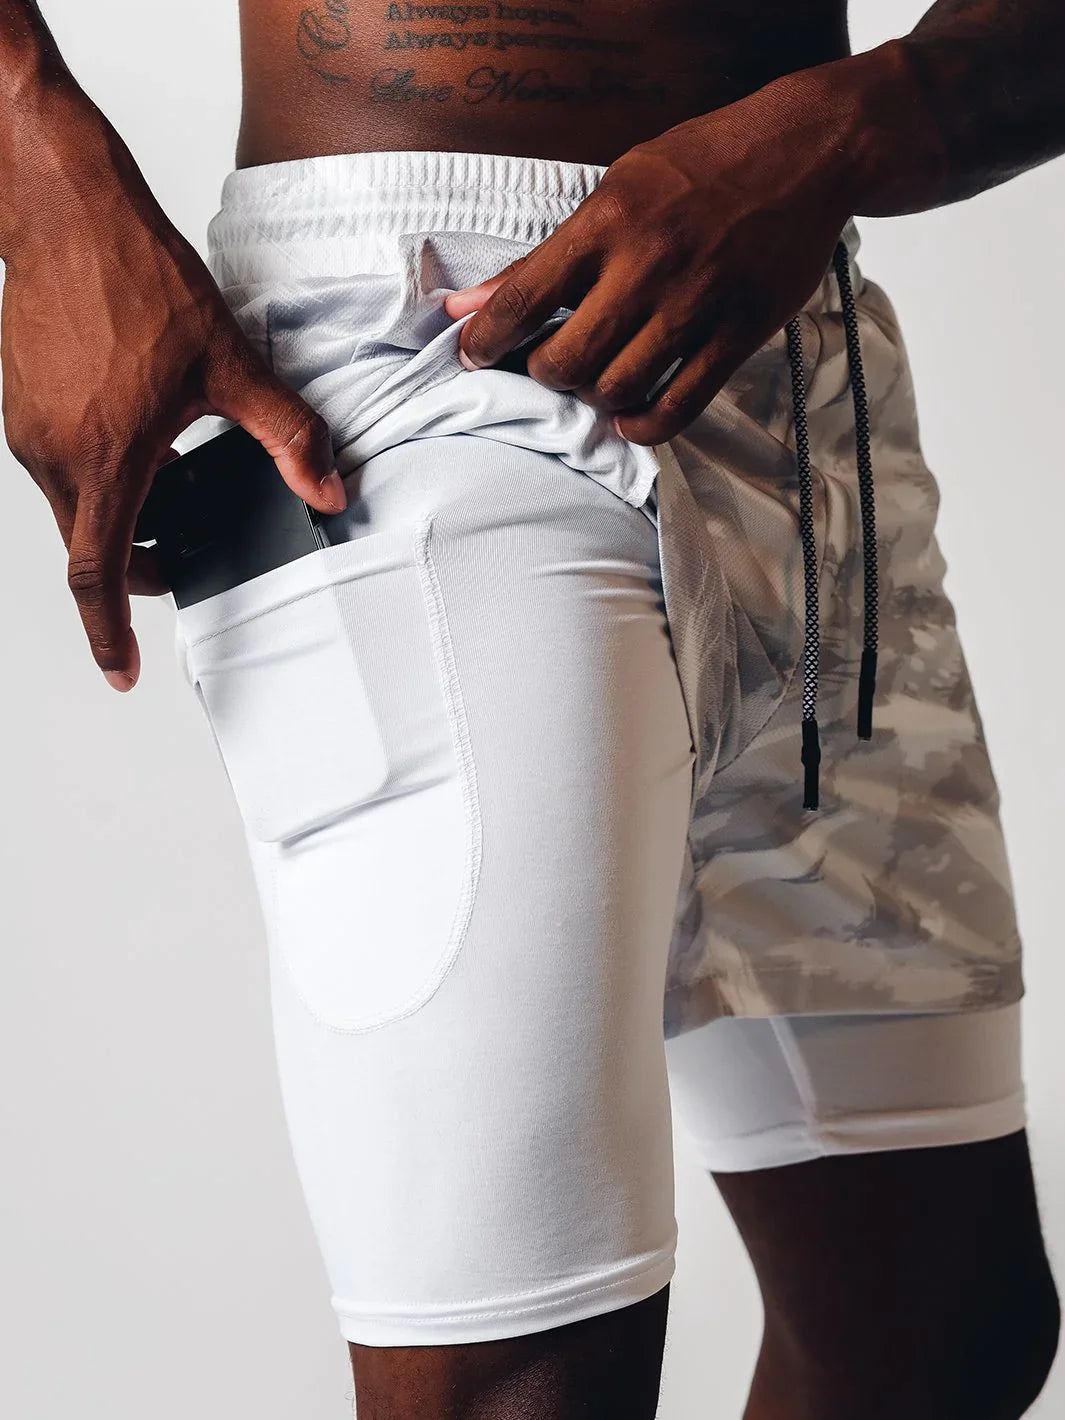
When it comes to best workout clothes for men in Australia, choosing the right activewear is key. Whether you’re hitting the gym or heading outdoors, men’s workout jogger pants in Australia or men’s activewear shorts in Sydney can make a big difference in comfort and performance. Let’s dive into the ultimate leg workout plan to help you achieve those summer-ready legs.
What Do Men Want from Their Leg Workout?
While leg workouts for men and women often involve similar exercises, the goals can differ. For men, the focus is typically on building mass, achieving definition, and enhancing endurance. Here’s a breakdown of what most men aim for:
Goal 1: Increase Leg Mass
Many men struggle with legs that don’t match their upper body in size and strength. Skipping leg day is a common mistake, as leg muscles require significant effort and recovery time. To build mass, you need to push heavy weights and fully exhaust your leg muscles. Light or moderate weights won’t cut it—legs are the largest muscle group in your body and demand intense stimulation to grow.
Goal 2: Achieve Defined Legs
Massive legs are great, but without definition, they can look bulky rather than athletic. Excess fat can obscure muscle definition, so a clean diet is essential to lower your body fat percentage. Additionally, targeting your legs from multiple angles ensures all muscle groups are engaged, leading to a more sculpted appearance.
Goal 3: Build Endurance
Your legs are the foundation of your body, carrying you through daily activities and workouts. Building endurance is crucial for long-term performance. Incorporating running, cycling, and high-rep strength training into your routine can enhance your leg stamina. Circuit training is another excellent way to improve endurance by keeping your muscles working continuously.
How to Achieve These Goals
To help you reach your leg goals, we’ve designed a comprehensive leg workout plan. This routine focuses on compound movements, isolation exercises, and strategic supersets to maximize muscle growth, definition, and endurance.
Leg Day Workout for Men
Warmup Notes
- Avoid heavy weights during warmup.
- Use bodyweight exercises and dynamic stretches to prepare your muscles.
- Don’t train to failure during warmup—save your energy for the main workout.
Barbell Squats: A Step-by-Step Guide
Barbell squats are one of the most effective compound exercises for building lower body strength and muscle mass. They primarily target your quads, hamstrings, glutes, and core, while also engaging your lower back and stabilizer muscles. Here’s a detailed breakdown of how to perform barbell squats correctly:

How to Do Barbell Squats
- Setup:
- Position yourself under the barbell in a squat rack. The bar should rest on your upper back (across your trapezius muscles), not on your neck.
- Grip the barbell slightly wider than shoulder-width apart, with your elbows tucked in and pointing downward.
- Step out from the rack with your feet hip-width apart. Your toes should point slightly outward (about 15-30 degrees).
- Starting Position:
- Engage your core by bracing your abs as if you’re about to be punched.
- Keep your chest up, shoulders back, and maintain a neutral spine (avoid rounding your back).
- Distribute your weight evenly across your feet, with a slight emphasis on your heels.
- The Descent (Lowering Phase):
- Begin the movement by pushing your hips back as if you’re sitting into a chair.
- Bend your knees and lower your body in a controlled manner. Keep your chest up and your back straight.
- Lower yourself until your thighs are at least parallel to the floor (or slightly below if you have the mobility).
- Ensure your knees track in line with your toes and don’t cave inward.
- The Ascent (Lifting Phase):
- Push through your heels to drive yourself back up to the starting position.
- Keep your core tight and maintain an upright posture as you rise.
- Fully extend your hips and knees at the top of the movement, but avoid locking your knees.
- Breathing:
- Inhale deeply before you begin the descent.
- Hold your breath as you lower yourself to maintain core stability.
- Exhale as you push through the ascent.
Sets and Reps
- Sets: 4
- Reps: 12RM, 10RM, 8RM, 8RM
- Start with a lighter weight for the first set (12 reps).
- Gradually increase the weight for each subsequent set while reducing the reps (10 reps, then 8 reps).
- On the final set, if you have a spotter, perform 2 additional forced reps (with assistance) to push your muscles to failure.
Key Tips for Proper Form
- Foot Placement: Keep your feet flat on the ground, with your weight distributed evenly. Avoid lifting your heels or toes.
- Knee Alignment: Ensure your knees don’t extend past your toes excessively. They should track in line with your feet.
- Depth: Aim to lower yourself until your thighs are at least parallel to the floor. Going deeper can increase muscle activation but requires good mobility.
- Core Engagement: Keep your core tight throughout the movement to protect your lower back and maintain stability.
- Controlled Movement: Avoid bouncing at the bottom of the squat or using momentum to lift the weight.
Common Mistakes to Avoid
- Leaning Too Far Forward: This can strain your lower back. Keep your chest up and maintain a neutral spine.
- Knees Caving Inward: Push your knees outward to align them with your toes.
- Lifting Heels: Keep your feet flat on the ground to maintain balance and proper form.
- Rounding Your Back: Always keep your back straight and avoid hunching over.
Why Barbell Squats Are Effective
- Builds Muscle Mass: Squats target multiple muscle groups, making them ideal for increasing leg size and strength.
- Boosts Functional Strength: They mimic everyday movements like sitting and standing, improving overall mobility and stability.
- Enhances Core Strength: The need to stabilize the barbell engages your core muscles.
- Increases Hormonal Response: Heavy squats stimulate the release of growth hormone and testosterone, promoting muscle growth.
By incorporating barbell squats into your leg workout, you’ll build stronger, more defined legs while improving overall athletic performance. Remember to start with lighter weights to master the form before progressing to heavier loads. If you’re new to squats, consider working with a trainer to ensure proper technique and avoid injury.
Barbell Hip Thrust: A Step-by-Step Guide
The barbell hip thrust is a powerhouse exercise for building strong, shapely glutes while also engaging your hamstrings and core. It’s a favorite among fitness enthusiasts and athletes for its ability to target the glutes effectively and improve hip extension strength. Here’s a detailed breakdown of how to perform the barbell hip thrust correctly:

How to Do Barbell Hip Thrusts
- Setup:
- Sit on the floor with your upper back resting against a sturdy bench. Your shoulders should be positioned just below the top edge of the bench.
- Roll a barbell over your legs and position it over your hips. For comfort, use a padded barbell or place a foam pad or towel between the bar and your hips.
- Bend your knees and place your feet flat on the floor, hip-width apart. Your feet should be close enough to your body so that when you lift your hips, your shins are vertical.
- Starting Position:
- Rest your upper back on the bench, with your head and neck in a neutral position.
- Engage your core and glutes to stabilize your body.
- The barbell should be centered over your hips, and your arms can rest on the bench for support.
- The Lift (Upward Phase):
- Drive through your heels and push your hips upward toward the ceiling.
- Lift until your body forms a straight line from your shoulders to your knees. Your torso should be parallel to the floor.
- At the top of the movement, squeeze your glutes as hard as possible and pause for 1-2 seconds.
- The Descent (Lowering Phase):
- Slowly lower your hips back down to the starting position, maintaining control.
- Stop just before your glutes touch the floor to keep tension in the muscles.
- Breathing:
- Inhale as you lower your hips.
- Exhale as you drive your hips upward and squeeze your glutes at the top.
Sets and Reps
- Sets: 4
- Reps: 12RM, 12RM, 10RM, 10RM
- Start with a moderate weight for the first two sets (12 reps).
- Increase the weight for the third and fourth sets while reducing the reps to 10.
- Focus on maintaining proper form and control throughout each set.
Key Tips for Proper Form
- Foot Placement: Keep your feet flat on the floor, hip-width apart. Adjust the distance from your body to ensure your shins are vertical at the top of the movement.
- Glute Activation: Squeeze your glutes hard at the top of the movement to maximize muscle engagement.
- Core Engagement: Keep your core tight to stabilize your body and avoid arching your lower back.
- Controlled Movement: Avoid using momentum to lift the weight. Focus on slow, controlled movements for maximum muscle activation.
- Neutral Spine: Maintain a neutral spine throughout the exercise to protect your lower back.
Common Mistakes to Avoid
- Overarching the Lower Back: This can strain your lower back. Focus on squeezing your glutes rather than pushing your hips too high.
- Knees Flaring Outward: Keep your knees in line with your toes to maintain proper alignment.
- Using Too Much Weight Too Soon: Start with lighter weights to master the form before progressing to heavier loads.
- Rushing the Movement: Avoid bouncing or using momentum. Perform each rep with control.
Why Barbell Hip Thrusts Are Effective
- Glute Development: The hip thrust is one of the most effective exercises for isolating and building the glutes.
- Improved Athletic Performance: Strong glutes enhance hip extension, which is crucial for running, jumping, and other explosive movements.
- Injury Prevention: Strengthening the glutes and hamstrings can help stabilize the pelvis and reduce the risk of lower back and knee injuries.
- Core Engagement: The exercise requires core stability, making it a great addition to overall strength training.
By incorporating barbell hip thrusts into your leg or glute workout, you’ll build stronger, more defined glutes while improving overall lower body strength. Start with lighter weights to perfect your form, and gradually increase the load as you become more comfortable with the movement. If you’re new to this exercise, consider working with a trainer to ensure proper technique and avoid injury.
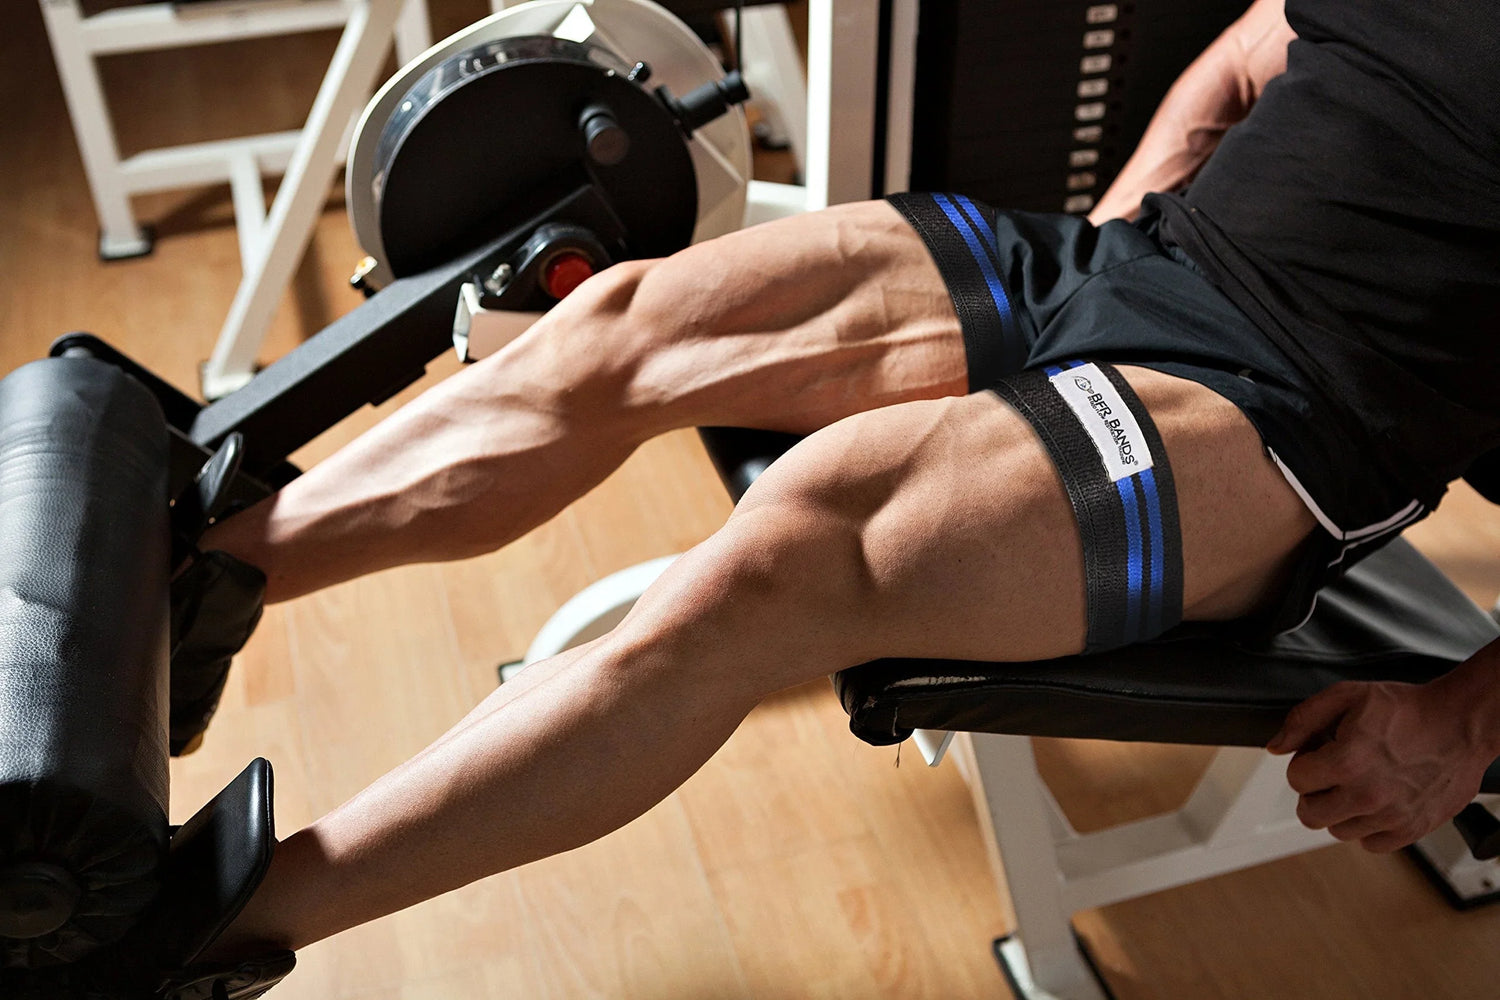
Quads Superset: Leg Extensions + Box Jumps – A Step-by-Step Guide
This superset combines leg extensions (an isolation exercise) with box jumps (a plyometric exercise) to target your quads from multiple angles while also building strength, power, and endurance. It’s an excellent way to exhaust your quads and improve explosive lower body performance. Here’s a detailed breakdown of how to perform this superset correctly:

1. Leg Extensions
Leg extensions isolate the quadriceps, making them a great exercise for building definition and strength in the front of your thighs.
How to Do Leg Extensions
- Setup:
- Sit on the leg extension machine with your back firmly against the pad.
- Place your feet behind the padded bar, ensuring the bar rests just above your ankles.
- Adjust the machine so your knees align with the pivot point of the lever.
- Starting Position:
- Grip the handles on the sides of the machine for stability.
- Keep your back straight and your core engaged.
- The Lift (Upward Phase):
- Push the padded bar upward by extending your legs.
- Continue lifting until your legs are almost fully straightened, but avoid locking your knees.
- The Descent (Lowering Phase):
- Slowly lower the bar back to the starting position, maintaining control.
- Stop just before the weights touch the stack to keep tension in your quads.
- Breathing:
- Exhale as you lift the bar.
- Inhale as you lower the bar.
2. Box Jumps
Box jumps are a plyometric exercise that builds explosive power in your quads, glutes, and hamstrings while also improving coordination and cardiovascular endurance.
How to Do Box Jumps
- Setup:
- Stand in front of a sturdy box or platform, feet hip-width apart.
- Ensure the box is at a height that challenges you but is safe to land on.
- Starting Position:
- Bend your knees slightly and push your hips back into a quarter-squat position.
- Swing your arms behind you to generate momentum.
- The Jump (Upward Phase):
- Explosively jump onto the box by driving through your heels and swinging your arms forward.
- Land softly on the box with your knees slightly bent to absorb the impact.
- Stand up fully on the box to complete the movement.
- The Descent (Lowering Phase):
- Step down carefully from the box one foot at a time. Avoid jumping down to reduce stress on your joints.
- Breathing:
- Inhale as you prepare to jump.
- Exhale as you explode upward.
Superset Execution
- Perform leg extensions first, completing the prescribed reps.
- Immediately move to box jumps without resting.
- Rest for 60-90 seconds after completing both exercises, then repeat for the next set.
Sets and Reps
- Sets: 4
- Leg Extensions Reps: 12RM, 12RM, 10RM, 10RM (increase weight after each set).
- Box Jumps Reps: 15RM, 15RM, 15RM, 15RM (maintain consistent intensity).
Key Tips for Proper Form
For Leg Extensions:
- Avoid locking your knees at the top of the movement to prevent joint strain.
- Use a full range of motion, but don’t let the weights slam down at the bottom.
- Focus on squeezing your quads throughout the exercise.
For Box Jumps:
- Land softly on the box to minimize impact on your knees and ankles.
- Keep your chest up and avoid leaning too far forward.
- Use your arms to generate momentum and power.
Common Mistakes to Avoid
Leg Extensions:
- Using Momentum: Avoid swinging your legs or using your body to lift the weight.
- Locking Knees: Fully locking your knees can strain the joint. Keep a slight bend at the top.
- Partial Range of Motion: Lower the weight fully to maximize muscle engagement.
Box Jumps:
- Landing with Straight Legs: Always land with slightly bent knees to absorb the impact.
- Jumping Down: Step down from the box instead of jumping to reduce joint stress.
- Using a Box That’s Too High: Start with a lower box and gradually increase the height as you build strength and confidence.
Why This Superset Is Effective
- Targets Quads from Multiple Angles: Leg extensions isolate the quads, while box jumps engage them dynamically.
- Builds Strength and Power: The combination of resistance training and plyometrics enhances both muscle size and explosive strength.
- Improves Endurance: Performing these exercises back-to-back increases cardiovascular demand and muscular stamina.
- Enhances Athletic Performance: Box jumps improve coordination, balance, and explosive power, which are essential for sports and functional movements.
By incorporating this superset into your leg workout, you’ll effectively target your quads while also building power and endurance. Start with lighter weights and a lower box height to master the form, then gradually increase intensity as you progress. If you’re new to these exercises, consider working with a trainer to ensure proper technique and avoid injury.
Romanian Deadlift (RDL): A Step-by-Step Guide
The Romanian Deadlift (RDL) is a highly effective exercise for targeting the hamstrings, glutes, and lower back. Unlike traditional deadlifts, the RDL emphasizes the eccentric (lowering) phase of the movement, which places greater tension on the hamstrings and glutes. It’s a staple in strength training programs for building posterior chain strength, improving posture, and enhancing athletic performance. Here’s a detailed breakdown of how to perform the Romanian Deadlift correctly:

How to Do Romanian Deadlifts
- Setup:
- Stand with your feet hip-width apart and a slight bend in your knees.
- Grip a barbell with an overhand grip (palms facing down), hands slightly wider than shoulder-width apart.
- Hold the barbell in front of your thighs, arms fully extended.
- Starting Position:
- Engage your core and keep your chest up, shoulders back, and spine in a neutral position.
- Maintain a slight bend in your knees throughout the movement.
- The Descent (Lowering Phase):
- Hinge at your hips by pushing your glutes back, as if you’re closing a car door with your rear.
- Lower the barbell in a straight line, keeping it close to your body.
- Keep your back straight and avoid rounding your shoulders or spine.
- Lower the barbell until you feel a deep stretch in your hamstrings (usually just below knee level or mid-shin, depending on your flexibility).
- The Ascent (Lifting Phase):
- Engage your hamstrings and glutes to pull the barbell back up.
- Push your hips forward to return to the starting position.
- Keep the barbell close to your body and maintain a neutral spine.
- Breathing:
- Inhale as you lower the barbell.
- Exhale as you lift the barbell back up.
Sets and Reps
- Sets: 3
- Reps: 12RM, 12RM, 10RM
- Start with a moderate weight for the first two sets (12 reps).
- Increase the weight for the third set while reducing the reps to 10.
- Focus on maintaining proper form and control throughout each set.
Key Tips for Proper Form
- Hip Hinge: The movement should come from your hips, not your lower back. Push your glutes back as you lower the barbell.
- Neutral Spine: Keep your back straight and avoid rounding or arching.
- Barbell Path: Keep the barbell close to your body throughout the movement to reduce strain on your lower back.
- Knee Position: Maintain a slight bend in your knees. Avoid locking them out or bending them too much.
- Controlled Movement: Lower the barbell slowly and with control to maximize muscle engagement.
Common Mistakes to Avoid
- Rounding the Back: This can strain your lower back. Focus on keeping your spine neutral and chest up.
- Bending the Knees Too Much: The RDL is not a squat. Keep your knees slightly bent and focus on hinging at the hips.
- Letting the Barbell Drift Away: Keep the barbell close to your body to maintain proper alignment and reduce stress on your lower back.
- Overarching at the Top: Avoid hyperextending your lower back at the top of the movement. Stand tall with your glutes and core engaged.
Why Romanian Deadlifts Are Effective
- Hamstring Development: The RDL places a strong emphasis on the hamstrings, helping to build strength and flexibility.
- Glute Activation: The hip hinge movement engages the glutes, making it a great exercise for building a stronger, more defined backside.
- Improved Posture: Strengthening the posterior chain (hamstrings, glutes, and lower back) can help correct imbalances and improve posture.
- Functional Strength: The RDL mimics everyday movements like picking up objects from the ground, making it a practical exercise for real-life activities.
- Injury Prevention: Strengthening the hamstrings and glutes can help stabilize the knees and lower back, reducing the risk of injury.
By incorporating Romanian Deadlifts into your leg or posterior chain workout, you’ll build stronger, more defined hamstrings and glutes while improving overall lower body strength and mobility. Start with lighter weights to perfect your form, and gradually increase the load as you become more comfortable with the movement. If you’re new to this exercise, consider working with a trainer to ensure proper technique and avoid injury.
Seated Calf Raise: A Step-by-Step Guide
The seated calf raise is an isolation exercise that targets the calf muscles, specifically the soleus (the deeper calf muscle). It’s an excellent movement for building calf strength, size, and endurance. Strong calves are essential for athletic performance, balance, and overall lower body stability. Here’s a detailed breakdown of how to perform seated calf raises correctly:

How to Do Seated Calf Raises
- Setup:
- Sit on a bench with your feet flat on the floor, hip-width apart.
- Place a weight plate or block under the balls of your feet to elevate your heels. Your heels should hang off the edge.
- Rest two dumbbells on your quads, just above your knees. Hold them in place with your hands to add resistance.
- Alternatively, you can use a seated calf raise machine if available.
- Starting Position:
- Ensure your knees are bent at a 90-degree angle and your feet are firmly planted on the weight plate or block.
- Keep your back straight and your core engaged.
- The Lift (Upward Phase):
- Push through the balls of your feet to lift your heels as high as possible.
- Focus on contracting your calf muscles at the top of the movement.
- Hold the peak contraction for 1-2 seconds to maximize muscle engagement.
- The Descent (Lowering Phase):
- Slowly lower your heels back down below the level of the weight plate or block.
- Stretch your calves fully at the bottom of the movement, but avoid bouncing or using momentum.
- Breathing:
- Exhale as you lift your heels.
- Inhale as you lower your heels.
Sets and Reps
- Sets: 4
- Reps: 15-20 per set
- Use a weight that allows you to complete 15-20 reps with good form.
- Focus on a full range of motion and controlled movements.
Key Tips for Proper Form
- Full Range of Motion: Lower your heels as far as possible to stretch the calves, and lift them as high as possible to fully contract the muscles.
- Controlled Movement: Avoid bouncing or using momentum. Perform each rep slowly and with control.
- Knee Position: Keep your knees bent at a 90-degree angle throughout the movement to isolate the soleus muscle.
- Weight Placement: Ensure the dumbbells are securely placed on your quads and held in place with your hands.
- Foot Position: Keep your feet hip-width apart and parallel to each other. Avoid turning your toes inward or outward.
Common Mistakes to Avoid
- Partial Reps: Failing to use a full range of motion reduces the effectiveness of the exercise. Lower your heels fully and lift them as high as possible.
- Bouncing: Using momentum to lift the weight takes tension off the calves. Focus on controlled movements.
- Leaning Forward: Keep your back straight and avoid leaning forward, as this can reduce calf engagement.
- Using Too Much Weight: Overloading the movement can compromise form and lead to injury. Choose a weight that allows you to complete 15-20 reps with proper technique.
Why Seated Calf Raises Are Effective
- Targets the Soleus: The seated position places more emphasis on the soleus muscle, which is crucial for calf development and lower leg stability.
- Improves Calf Strength and Size: Regular training with seated calf raises can lead to stronger, more defined calves.
- Enhances Athletic Performance: Strong calves are essential for running, jumping, and other explosive movements.
- Injury Prevention: Strengthening the calves can help stabilize the ankles and reduce the risk of injuries like Achilles tendonitis.
- Versatility: This exercise can be done with minimal equipment (dumbbells and a weight plate) or using a dedicated calf raise machine.
By incorporating seated calf raises into your leg workout, you’ll build stronger, more defined calves while improving lower body stability and performance. Start with lighter weights to perfect your form, and gradually increase the load as you become more comfortable with the movement. If you’re new to this exercise, consider working with a trainer to ensure proper technique and avoid injury.
Takeaway
A strong, well-developed lower body isn’t just about aesthetics—it’s essential for overall strength and functionality. This leg workout is designed to help you build mass, definition, and endurance, ensuring you’re ready to rock your men’s activewear shorts or men’s workout jogger pants this summer.
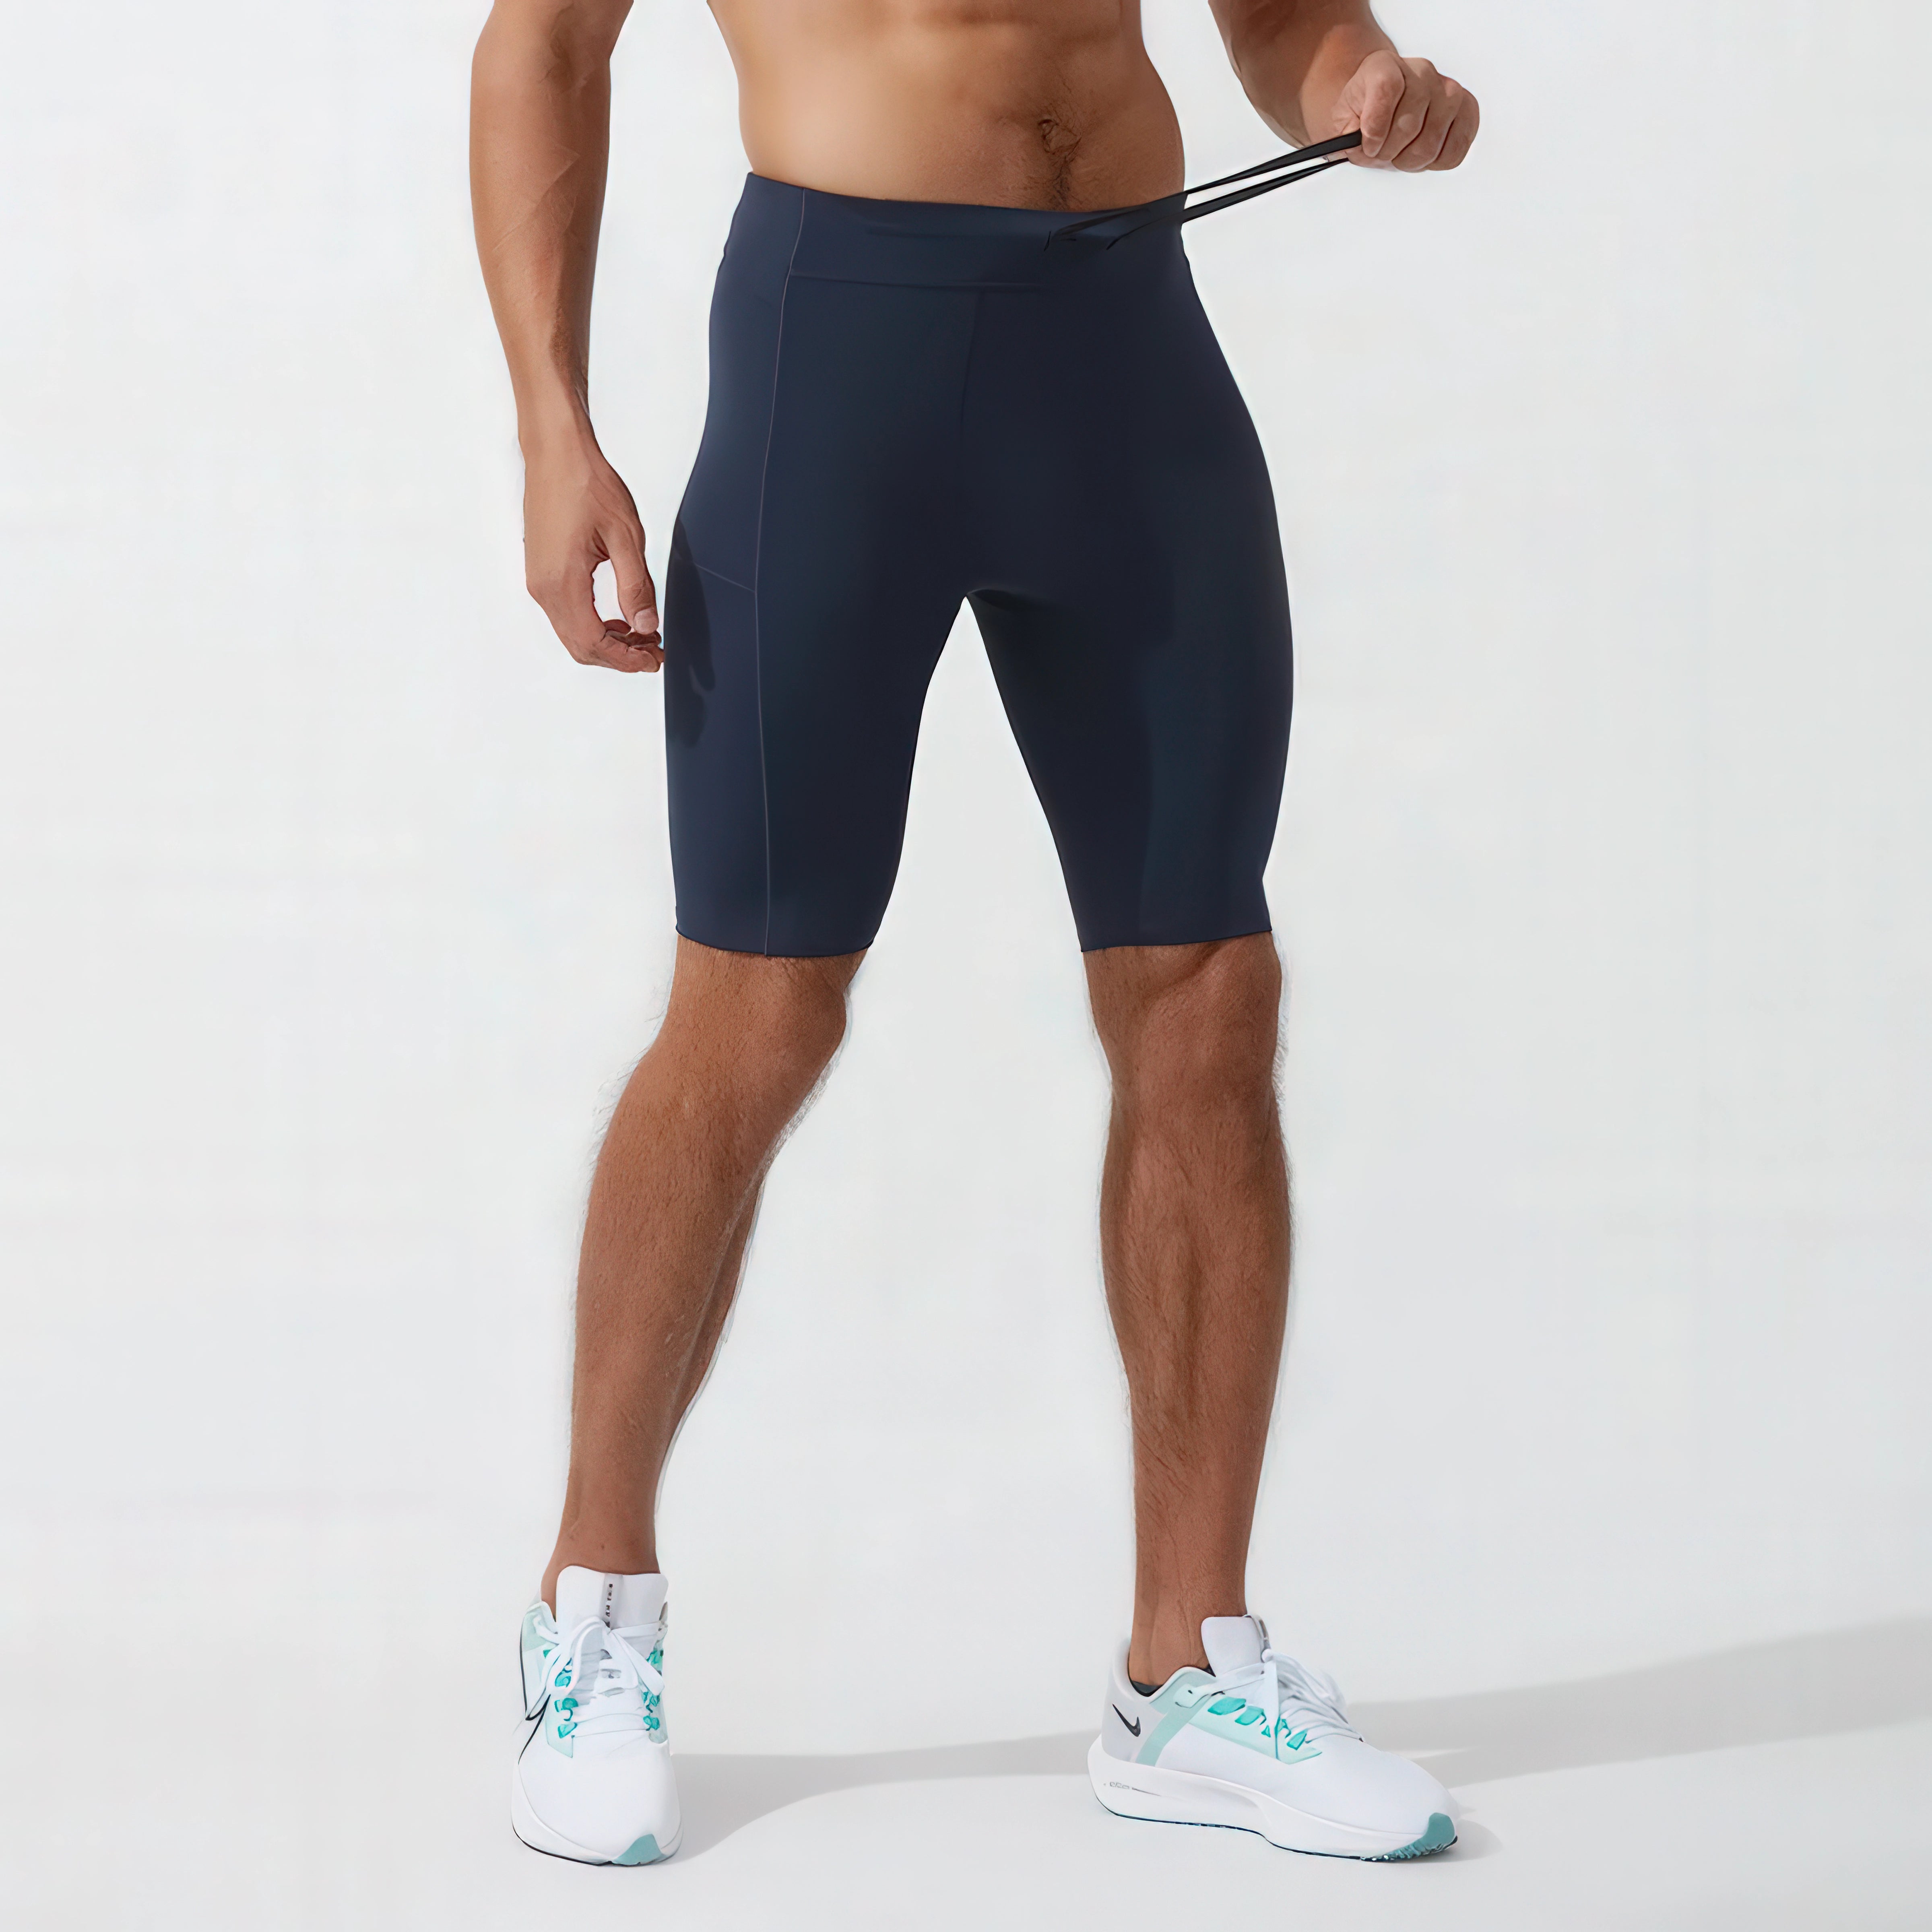
When it comes to the best workout clothes for men in Australia, investing in high-quality workout shorts for men in Austalia or men’s activewear shorts can enhance your performance and comfort. Pair them with supportive footwear and breathable tops for the ultimate gym or outdoor look.
Stick to the plan, stay consistent, and watch your legs transform. Get ready to hit the beach or the gym with confidence, showcasing your hard work in the best men’s workout jogger pants or activewear shorts Australia has to offer!
Research References
Here are some credible sources and studies that support the effectiveness of the exercises and principles mentioned in this article:
- Barbell Squats
- Schoenfeld, B. J. (2010). "The Mechanisms of Muscle Hypertrophy and Their Application to Resistance Training." Journal of Strength and Conditioning Research, 24(10), 2857-2872.
- This study explains how compound movements like squats stimulate muscle growth through mechanical tension and metabolic stress.
- Barbell Hip Thrust
- Contreras, B., Vigotsky, A. D., Schoenfeld, B. J., Beardsley, C., & Cronin, J. (2015). "A Comparison of Gluteus Maximus, Biceps Femoris, and Vastus Lateralis Electromyographic Activity in the Back Squat and Barbell Hip Thrust Exercises." Journal of Applied Biomechanics, 31(6), 452-458.
- This research highlights the effectiveness of hip thrusts in activating the glutes compared to other lower-body exercises.
- Romanian Deadlift (RDL)
- McAllister, M. J., Hammond, K. G., Schilling, B. K., Ferreria, L. C., Reed, J. P., & Weiss, L. W. (2014). "Muscle Activation During Various Hamstring Exercises." Journal of Strength and Conditioning Research, 28(6), 1573-1580.
- This study demonstrates the high hamstring activation during Romanian deadlifts, making it an effective exercise for posterior chain development.
- Seated Calf Raises
- Maeo, S., Takahashi, T., Takai, Y., & Kanehisa, H. (2013). "Training-Specific Functional Architecture in the Human Triceps Surae Muscle." European Journal of Applied Physiology, 113(1), 247-257.
- This research emphasizes the importance of calf exercises like seated calf raises for targeting the soleus muscle.
- Plyometric Training (Box Jumps)
- Markovic, G., & Mikulic, P. (2010). "Neuro-Musculoskeletal and Performance Adaptations to Lower-Extremity Plyometric Training." Sports Medicine, 40(10), 859-895.
- This meta-analysis discusses the benefits of plyometric exercises like box jumps for improving power, strength, and athletic performance.


Leave a comment
This site is protected by hCaptcha and the hCaptcha Privacy Policy and Terms of Service apply.